Replacing a damaged laptop screen can be a daunting task, but with the right guidance and a little patience, you can save both time and money by doing it yourself. In this comprehensive guide, we’ll provide you with a step-by-step walkthrough on how to replace the screen on your laptop. Whether you’re a tech enthusiast or a beginner, you’ll find this detailed how-to guide helpful in getting your laptop’s display back in perfect shape.
How to replace the screen on your laptop
Step 1: Assessing the damage
The first step in replacing a laptop screen is to assess the extent of the damage. Examine your screen for any visible cracks, flickering, or dead pixels. This assessment will help you determine the appropriate replacement parts and tools needed for the repair.
Step 2: Finding the right replacement screen
Before purchasing a new screen, you need to ensure it’s compatible with your laptop. Make a note of your laptop’s make, model, and measure the screen size. Armed with this information, you can search online or contact the laptop manufacturer or authorized dealers to find the exact replacement part. Be sure to double-check the compatibility before making a purchase.
Step 3: Gathering the necessary tools
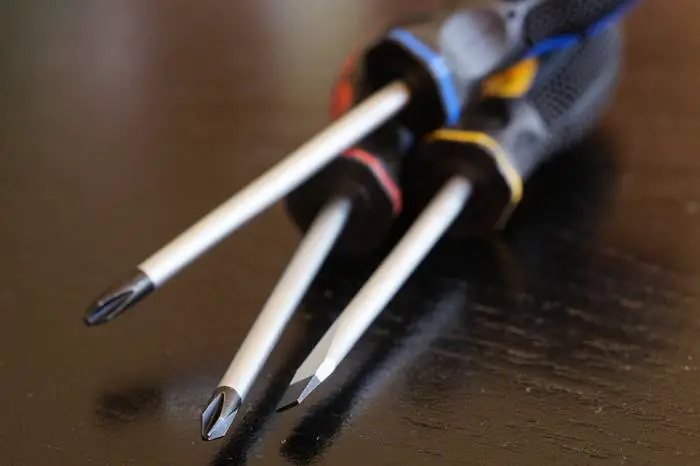
To successfully replace the screen on your laptop, you’ll need several tools. Gather a small screwdriver set, tweezers, an anti-static wristband, and create a clean workspace. Having the required tools ready before you begin will make the process smoother and more efficient.
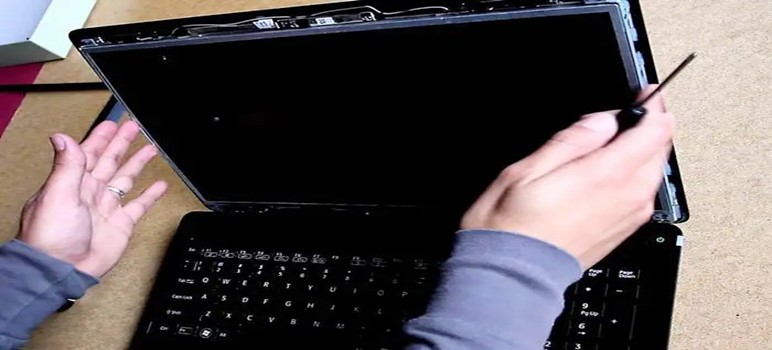
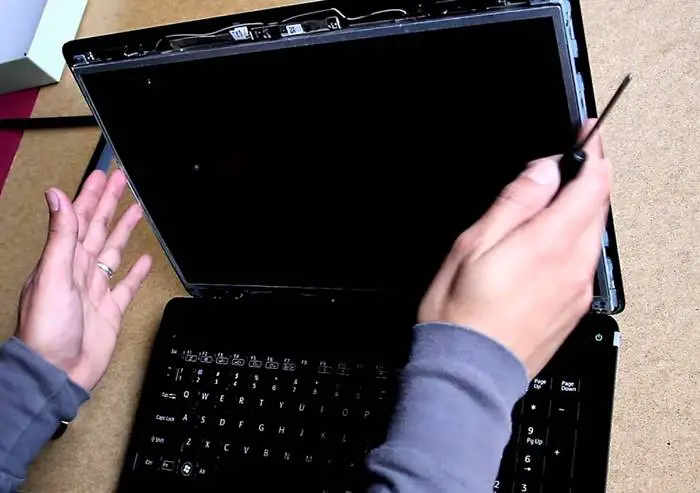
Step 4: Disconnecting the old screen
Start the screen replacement process by turning off your laptop and disconnecting it from the power source. If the battery is easily accessible, remove it as well. Locate the screws around the bezel or frame of the screen and carefully remove them. Once the screws are out, gently pry the bezel away from the screen, exposing the LCD panel and the video cable connected to it. Take your time and be gentle during this step to avoid any accidental damage. Disconnect the video cable and any other cables attached to the screen.
Step 5: Installing the new screen
With the old screen disconnected, it’s time to install the new one. Begin by attaching any necessary cables to the replacement screen. Carefully place the screen into the laptop frame, ensuring it fits properly. Align the screen and reattach the bezel, securing it with the screws you previously removed. Double-check that everything is aligned correctly and tightened securely.
Step 6: Testing the replacement
Before fully reassembling your laptop, it’s crucial to test the replacement screen. Reconnect your laptop to the power source and turn it on. Check if the new screen displays properly and if there are any abnormalities such as flickering or distorted images. If everything looks good, congratulations! You’ve successfully replaced the screen on your laptop.
Short Video: Replacing screen on laptop
How to replace your laptop screen: conclusion
By following this how-to guide, you can confidently replacing the screen on your laptop. Remember to exercise caution and take your time throughout the process. DIY laptop screen repair can be a rewarding experience, saving you money and empowering you with a new skill. Now you can enjoy a fully functional laptop display without the need for professional assistance.
Please note that this guide is intended for informational purposes only. Perform the repair at your own risk, as opening your laptop may void any existing warranties. If you’re unsure or uncomfortable with the process, it’s always advisable to seek professional help.
So to recap, here’s how to replace the screen on your laptop:
- Assessing the damage
- Finding the right replacement screen
- Gathering the necessary tools
- Disconnecting the old screen
- Installing the new screen
- Testing the replacement