The clarity and vivid detail offered by 4K resolution have set a new benchmark. For filmmakers, content creators, and video enthusiasts aiming to harness this superior resolution, mastering the art of 4K video editing is paramount. With the right 4k video editor tools and techniques, the challenge of maintaining the original quality of your footage throughout the editing process becomes manageable. This comprehensive guide aims to equip you with the knowledge and skills needed to edit your 4K videos without losing their quality, ensuring your final product stands out with its stunning visual fidelity.
 Image by frimufilms on Freepik
Preparation for Editing 4K Videos
Hardware Requirements
Editing 4K footage is no small feat, especially when the goal is to edit 4K videos without losing quality, and it demands a hardware setup that can handle its intensive requirements. A powerful CPU, preferably with multiple cores, is essential for processing the large amounts of data in 4K files. A high-end GPU will significantly accelerate rendering times and improve playback performance. Additionally, at least 16GB of RAM is recommended, though 32GB or more is ideal for handling multiple layers and effects in real-time. Fast storage, such as SSDs or NVMe drives, is crucial for quick access to your footage and smooth editing. Upgrading your hardware to meet these requirements will make a noticeable difference in your 4K video editing workflow.
Software Selection
The choice of editing software plays a critical role in your 4K video editing success. Opt for software that not only supports 4K resolution natively but also offers a comprehensive set of editing tools and effects. These are include:
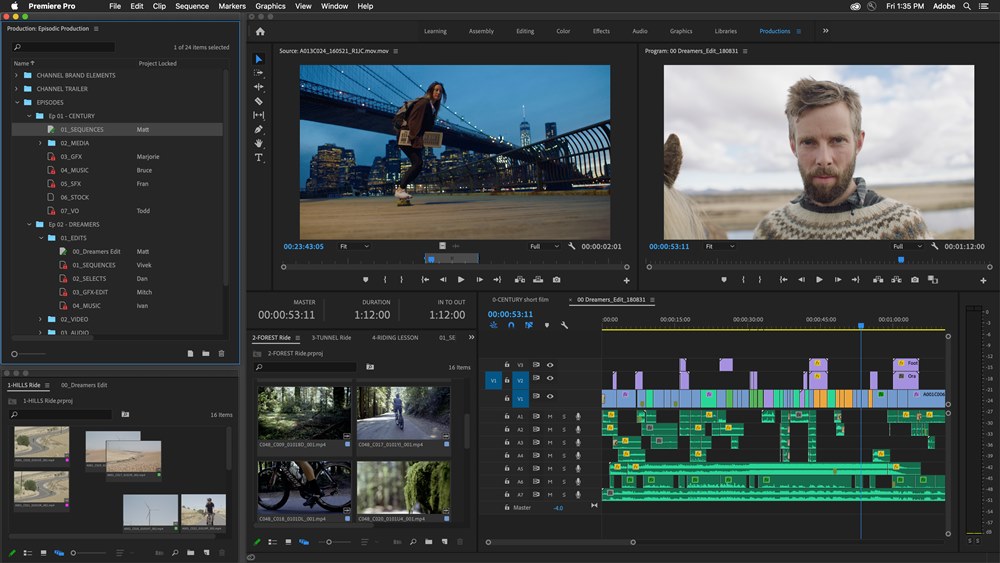
- Adobe Premiere Pro,
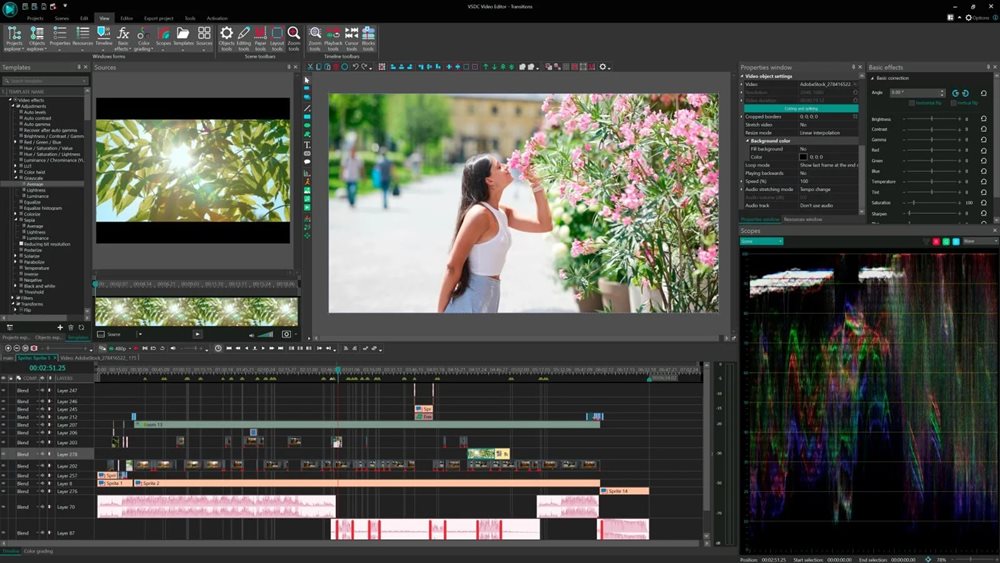
- VSDC Free Video Editor Pro,
- DaVinci Resolve
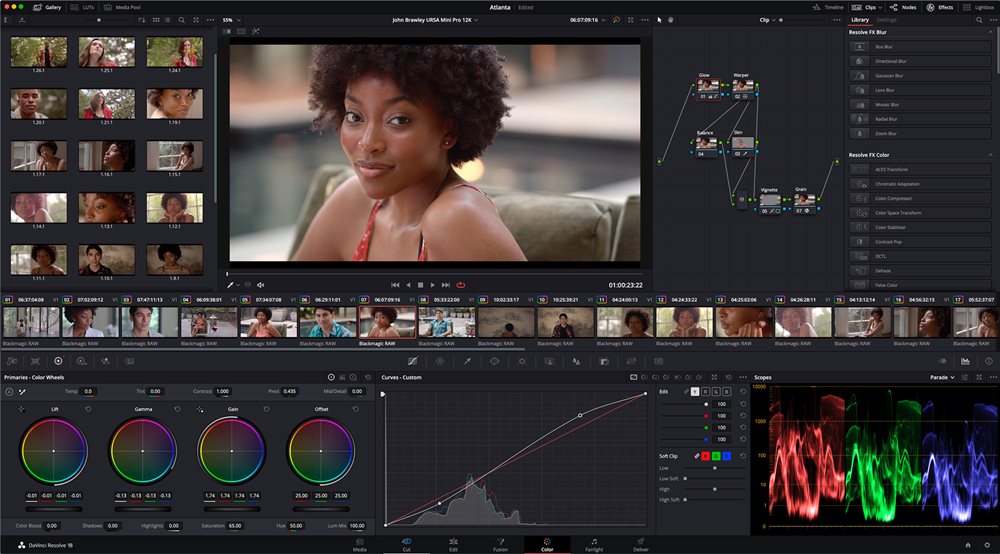
These programs are popular choices among professionals for their robust feature sets, including advanced color correction, effects, and proxy workflow capabilities. Ensure the software you choose is updated regularly to take advantage of the latest 4K editing features and optimizations.
Key Techniques for Editing 4K Videos Without Losing Quality
Optimal Project Settings
Setting up your project correctly from the start is crucial for maintaining the quality of your 4K footage. This begins with ensuring your import settings match the specifications of your footage, such as resolution, frame rate, and color depth. Proper sequence settings are equally important, as they determine how your footage is processed and previewed during editing. Ensuring these settings align with your source material prevents unnecessary conversions and degradation of quality.
Efficient Editing Workflow
Proxy Editing
Proxy editing is a technique where you edit using lower-resolution versions of your footage, allowing for smoother playback and faster editing on less powerful systems. Once editing is complete, the software swaps the proxy files back with the original 4K files for final rendering. This process is seamless and ensures that your final product retains the maximum quality of your original footage. Implementing a proxy workflow can significantly improve your editing efficiency without sacrificing the quality of your 4K video.

Color Grading
Color grading is a pivotal part of the post-production process, especially for 4K footage, where the high resolution can highlight color inconsistencies and imperfections. When color grading 4K content, it’s important to work within a color space that supports the wide range of colors and high dynamic range often found in 4K footage. Utilizing high-quality Look-Up Tables (LUTs) and manual color correction tools ensures that your footage not only looks consistent but also enhances the visual storytelling of your project.
Rendering and Exporting
Codec Selection
Selecting the appropriate codec is crucial for balancing quality and file size in your final 4K video. Codecs like H.264 and H.265/HEVC are popular choices for 4K due to their efficiency and support for high resolutions. HEVC, in particular, offers better compression, allowing for smaller file sizes without a significant loss in quality. However, it’s essential to choose a codec that matches the requirements of your distribution platform or playback device to ensure compatibility and optimal viewing experience.
Bitrate Settings
The bitrate of your video significantly affects its quality and file size, particularly when aiming to edit 4k videos without losing quality. For 4K video, a higher bitrate is necessary to maintain the intricate details and clarity that define the resolution. While higher bitrates result in larger files, they ensure that your video retains its quality after compression. Balancing the bitrate with the needs of your distribution platform is key; streaming services may require lower bitrates for bandwidth efficiency, while physical media or archive files can handle higher bitrates for maximum quality.
 Image by senivpetro on Freepik
Advanced Tips for 4K Video Editing
Incorporating noise reduction and stabilization techniques can further refine your 4K footage, especially if it was captured under less-than-ideal conditions. Noise reduction software can clean up grainy footage, while stabilization can smooth out shaky camera movements, ensuring your 4K video maintains a professional and polished look.
Common Mistakes to Avoid
Many editors new to 4K video editing fall into common traps, such as neglecting the importance of proxy workflows or misconfiguring project settings, leading to unnecessary quality loss or inefficient editing processes. By being aware of these pitfalls and adhering to best practices, you can ensure a smoother editing process and superior final products.
Pro Tip: Do you want to trim out a spoilt part of your video, or perhaps extract a short clip from a longer video? Learn how to trim videos with the Movavi Video Editor.
Frequently Asked Questions (FAQs)
1) Can I edit a 4K video in 1080p?
Yes, you can edit a 4K video in 1080p by using a technique known as proxy editing. This involves creating a lower-resolution version of your 4K footage, such as 1080p, to edit with less strain on your computer. Once you complete your edits, you can then link back to the original 4K files for the final render. This approach allows smoother editing on less powerful systems while ensuring your final output can still be in 4K, maintaining the high quality of your original footage.
2) How do I edit 4K video without lag?
To edit 4K video smoothly:
- Use a Proxy Workflow.
- Upgrade Your Hardware: CPU, GPU, RAM, and fast storage.
- Optimize Software Settings.
- Close Background Applications.
3) What specs do I need for 4K video editing?
For efficient 4K video editing:
- CPU: Powerful multi-core processor.
- GPU: High-end graphics card with ample VRAM.
- RAM: At least 16GB, ideally 32GB or more.
- Storage: Fast SSD or NVMe drives with large capacity.
- Display: 4K monitor for accurate previewing.
Read also: How to Share Photos on WhatsApp Without Losing Quality
Conclusion
The leap to editing 4K video content brings with it exciting opportunities for enhanced visual storytelling, provided you navigate the process with the appropriate tools and techniques. This guide has outlined the essential steps to edit your 4K videos without losing quality, ensuring that your content captures the full depth and detail that 4K resolution offers. With practice and patience, you’ll find that editing 4K footage not only enhances your projects but also expands your creative possibilities.