We’ve all been there: you send an important email, and instead of a swift reply, it bounces back to your inbox or gets rejected. Frustrating, isn’t it? Don’t worry, though; in this guide, we’ll help you understand why bounced or rejected emails happen and show you how to fix it. No technical jargon here – just simple, actionable steps to get your emails back on track.
Why Do Emails Bounce or Get Rejected?
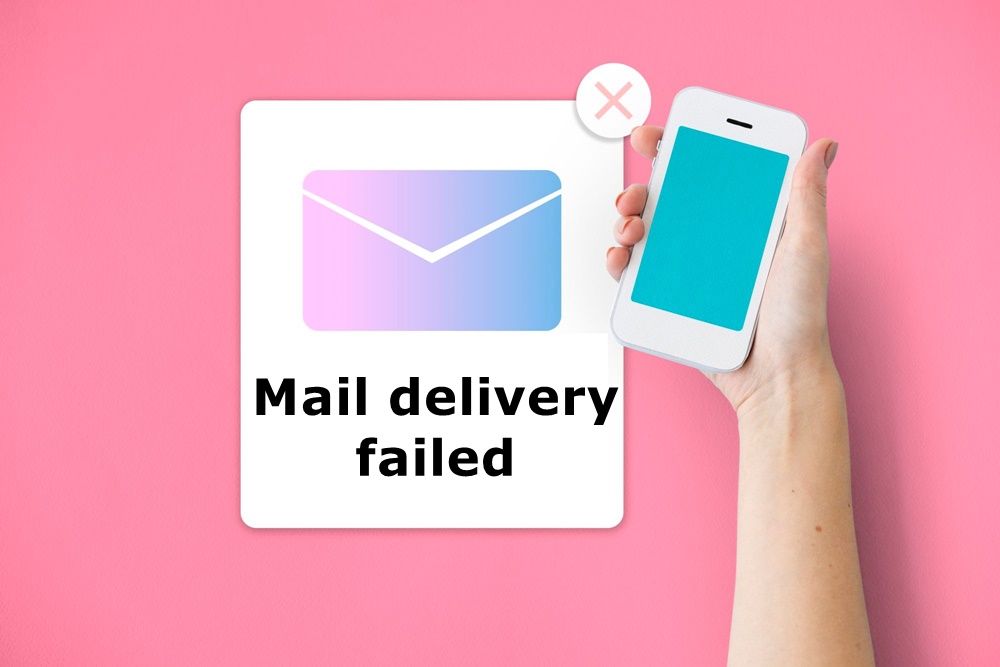 Image by rawpixel.com on Freepik
Before we dive into the solutions, let’s understand why emails bounce or get rejected. There are several common reasons:
1. Invalid Recipient Email Address: The most straightforward reason – the email address you’re sending to doesn’t exist or has a typo.
2. Mailbox Full: The recipient’s mailbox is full and can’t accept any more emails until they clear some space.
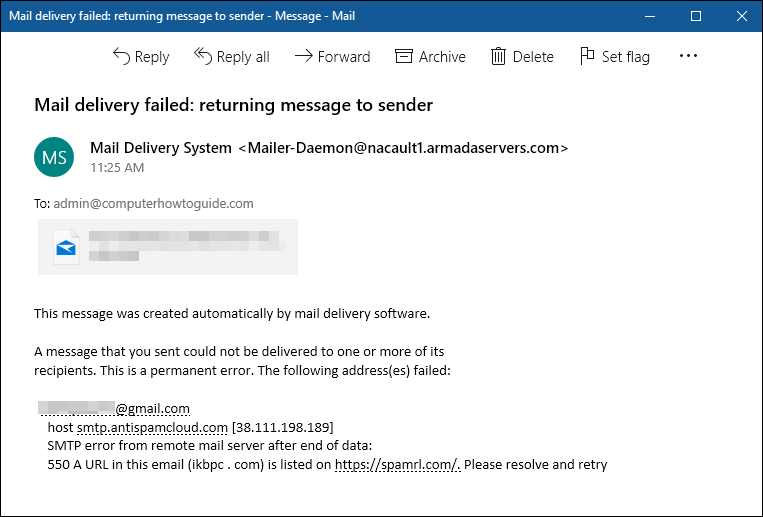
3. Domain Issues: Problems with the recipient’s email domain, like the domain being down or blacklisted.
4. Spam Filters: Your email might be marked as spam due to certain keywords, attachments, or other factors.
5. Authentication Problems: Issues with your email server’s authentication settings.
Now that you know why emails bounce or get rejected, let’s discuss how to fix them.
Step-1: Double-Check the Recipient’s Email Address
When you encounter an email bounce or rejection, the first thing you should do is verify the recipient’s email address. Sometimes, a simple typo can lead to your email going astray.
Imagine you’re sending an email to your friend, John, with the address john.doe@emailprovider.com. You’re in a hurry, and you type it quickly, but your fingers slip, and you end up sending it to jhon.doe@emailprovider.com.
In this scenario, you might receive a bounce-back message indicating that the email couldn’t be delivered. This happens because “jhon.doe” is not a valid email address, and the email server can’t find it.

To fix this issue:
1. Double-Check the Address
Go back to your email and carefully inspect the recipient’s email address. Look for any typos or mistakes. In our example, the mistake was the inversion of ‘j’ and ‘h,’ which is easy to miss.
2. Resend the Email
Once you’ve corrected the email address, simply resend the email. This time, it should reach the intended recipient without any issues.
Remember, these mistakes can happen to anyone, and a simple double-check can save you from the frustration of bounced emails. If you’re uncertain about the recipient’s email address, it’s always a good practice to ask them to confirm it, especially if you’re sending important or time-sensitive information.
Pro Tip: Using email signatures can make your emails look more professional and help people recognize you better. Learn how to create a Gmail signature to make your emails standout.
Step-2: Verify the Recipient’s Mailbox Status
In some cases, you might encounter email bounces or rejections because the recipient’s mailbox is full. When their mailbox is full, it can’t accept any more incoming emails.
Imagine you’re a salesperson who has been in touch with a potential client, Sarah. You’re expecting a critical response from her, but instead, you receive a bounce-back message. It states that your email couldn’t be delivered due to a full mailbox.
This can be disheartening, especially when you’re eagerly waiting for that important response. But before you jump to conclusions, consider the following steps:
 Image by rawpixel.com on Freepik
To fix this issue:
1. Wait Patiently
If you receive a bounce-back message mentioning a full mailbox, the first step is to be patient. Give Sarah some time to clear her mailbox. She might not even be aware that her mailbox is full, and your follow-up email may draw her attention to it.
2. Send a Polite Follow-up Email
After a reasonable period, send a polite follow-up email to Sarah, acknowledging the mailbox issue. You can say something like, “I understand your mailbox may be full, but I wanted to make sure you received my previous message. Whenever you have a moment to clear some space, please check your email, and I’ll be looking forward to your response.”
Remember, a full mailbox is often a temporary problem, and a courteous follow-up can help ensure your email gets the attention it deserves. Being understanding and considerate in your communication can go a long way in maintaining positive relationships with your contacts.
Step-3: Check for Domain Issues
Sometimes, the reason behind your email bounce or rejection might not be at your end but on the recipient’s domain. Issues with the recipient’s domain can disrupt email delivery.
Let’s say you’re a freelance writer, and you’ve been sending pitches to various online publications. One day, you receive a rejection notification for your pitch. It states that your email couldn’t be delivered due to a domain issue.
In this case, the issue is beyond your control and resides with the recipient’s email domain. Here’s how to handle it:
To fix this issue:
1. Check the Recipient’s Domain
If you receive an email bounce due to domain issues, the first step is to investigate the recipient’s domain. You can use online tools or visit their website to see if there are any announcements or maintenance notices regarding their email services.
2. Contact the Recipient
If you can’t find any information about domain issues, it’s a good idea to reach out to the recipient. Explain that you’ve been experiencing issues with email delivery and ask if they are aware of any domain problems. This step can provide you with valuable insights and might prompt the recipient to investigate the issue on their end.
Domain issues are typically beyond your control, and it’s important to approach the situation with patience and diplomacy. Maintaining open and courteous communication can help you address the problem and ensure your emails reach their destination in the future.
Step-4: Avoid Spam Filters
Spam filters are designed to protect us from unsolicited and potentially harmful emails, but they can sometimes mistakenly flag legitimate emails as spam.
Imagine if you’re running an online store and want to send out a promotional email with a discount offer to your loyal customers. However, you find that many of your recipients never see the email because it lands in their spam folder.
This situation can be frustrating, as you’re missing out on potential sales and customer engagement. Here’s how you can navigate this challenge:
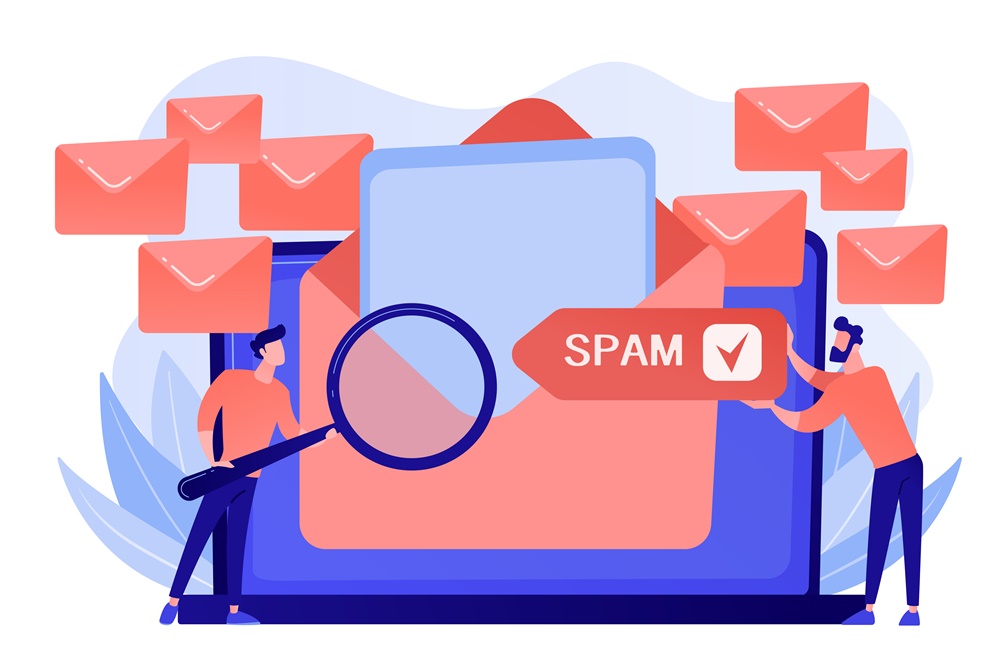 Image by vectorjuice on Freepik
To avoid spam filters:
1. Mind Your Subject Line
Craft a subject line that is clear, concise, and relevant to the content of your email. For example, “Exclusive 20% Off for Our Valued Customers” is more likely to pass through spam filters than a subject line loaded with symbols or excessive capital letters.
2. Avoid Trigger Words
Certain words and phrases can trigger spam filters. For instance, words like “free,” “guaranteed,” or “money-back” are often associated with spam. Use them judiciously and only when necessary.
3. Limit Links and Attachments
Excessive links and attachments can trigger spam filters. Enhance your email etiquette by being selective with the number of links and attachments.
4. Check for HTML Formatting
Properly format your emails with clean HTML. Avoid using excessive styles, fonts, and colors, which can look suspicious to spam filters.
5. Use an Email Verification Service
Before sending your emails, consider using an email verification service such as BriteVerify or ZeroBounce to check your email list for invalid or potentially problematic addresses. While these services can be valuable, it’s essential to choose one that best fits your specific needs and budget.
6. Test Your Emails
Send a test email to yourself or a colleague to check if it lands in the spam folder. This can help you spot and rectify any potential issues before sending to your recipients.
By applying these strategies and keeping the example in mind, you can significantly reduce the chances of your emails being flagged as spam. This practical approach helps readers understand how to navigate the intricacies of spam filters without resorting to technical jargon.
Read also: How Can I Get a Disposable or Temporary Email Address?
Step-5: Verify Email Server Authentication
Email server authentication is crucial for ensuring that your emails are not only delivered but also trusted by the recipient’s email service.
Let’s consider an example to highlight the significance of this step:
Imagine you’re a business owner, and you’ve recently set up an online booking system to allow customers to schedule appointments. You’ve noticed that some appointment confirmation emails are not reaching your customers’ inboxes, and you’re receiving complaints about missed appointments.
In this case, email authentication issues could be causing the problem. To address this, you need to verify and configure your email server authentication properly.
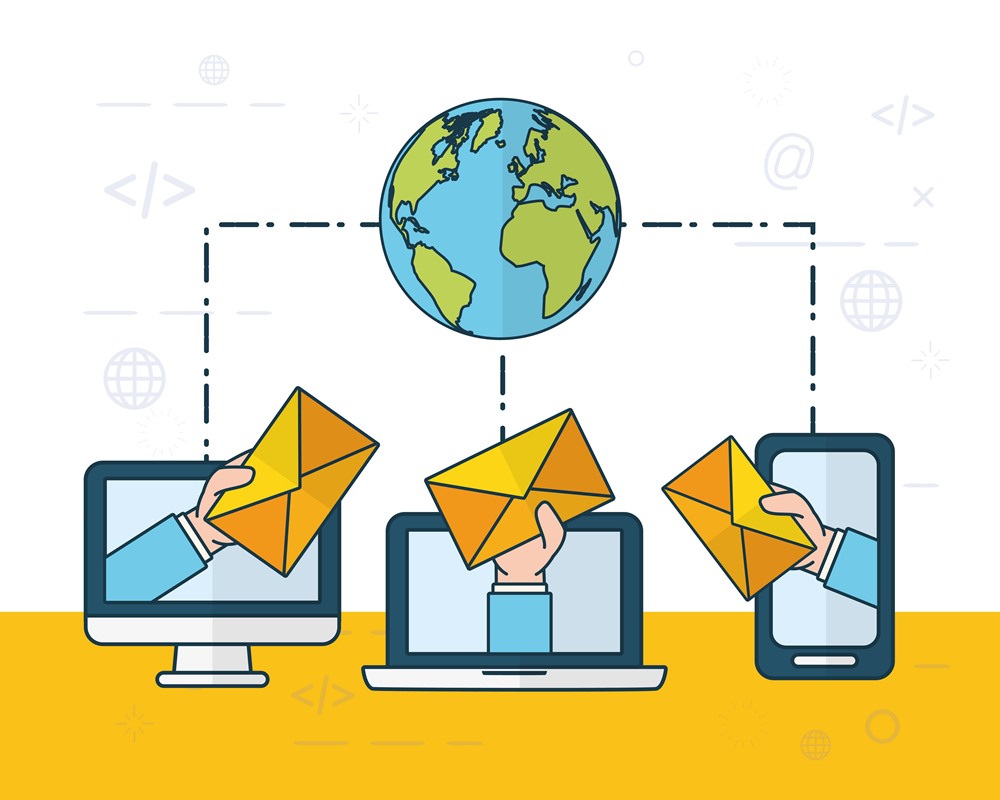 Image by gstudioimagen on Freepik
To verify email server authentication:
1. Check SPF (Sender Policy Framework)
SPF is a mechanism that helps prevent email spoofing. Ensure you correctly set up your SPF records in your DNS records. This record specifies which IP addresses are authorized to send emails on your behalf.
2. Configure DKIM (DomainKeys Identified Mail)
DKIM adds a digital signature to your emails, which the recipient’s email server can verify. It’s essential to set up and configure DKIM correctly to establish the authenticity of your emails.
3. Implement DMARC (Domain-based Message Authentication, Reporting, and Conformance)
DMARC is a policy that helps ensure your emails align with SPF and DKIM. Configuring DMARC helps protect your domain from email spoofing and phishing attacks.
4. Regularly Monitor Authentication Records
Periodically review your SPF, DKIM, and DMARC records to ensure they are up to date and correctly configured. Any changes to your email infrastructure should be reflected in these records.
By addressing these steps and correctly setting up your email server authentication, you can significantly improve your email deliverability and trustworthiness. This example underscores the importance of email server authentication, especially for businesses and organizations that rely on email communication to engage with their audience.
Read also: 10 Best Email Clients for Android Mobile Phones
Conclusion
Fixing bounced or rejected emails doesn’t have to be a headache. By following these simple steps, you can increase the chances of your emails reaching their intended recipients. Remember, it’s essential to double-check recipient email addresses, monitor mailbox statuses, stay mindful of spam filters, and ensure you set up your email server’s authentication correctly.
Now, you’re armed with the knowledge to troubleshoot email issues like a pro. Say goodbye to those frustrating bounces and rejections and start enjoying smooth email communication. If you found this guide helpful, don’t forget to share it with others who might be facing similar email troubles.
Happy emailing!